Buying a hiking backpack sounds simple until you start comparing sizes, frames, pockets, and adjustment systems.
A 30L pack might be perfect for one hiker and completely unsuitable for another. The difference often comes down to the gear you’re carrying, how long you’re staying outside, and how the backpack fits your body.
If you’re new to hiking, don’t start by looking for the pack with the most features. Start with your usual trips and work backward from there.
Step 1: Decide What Kind of Hiking You Do
Before comparing products, think about your typical outing.
Short day hikes
For a few hours on the trail, a 15–25L backpack may provide enough space for water, snacks, a rain jacket, sunscreen, and basic emergency supplies.
Full-day hikes
A 20–35L backpack offers more flexibility for additional layers, food, a camera, and changing weather conditions.
Overnight backpacking
A 35–50L pack may work if your shelter and sleeping system are compact. Bulky equipment can require more capacity.
Multi-day trips
A 50–70L backpack may be useful for longer trips, particularly when you need several days of food, warmer clothing, or additional equipment.
These ranges are general starting points. Your equipment and the conditions matter more than the number printed on the backpack.
Step 2: Understand Backpack Capacity
Capacity is normally measured in liters.
The mistake beginners often make is assuming that more capacity automatically means more comfort. A larger pack can be useful, but it also makes it easier to carry unnecessary items.
Here’s a practical way to choose:
| Capacity | Typical use | Main limitation |
|---|---|---|
| 15–25L | Short day hikes | Limited room for bulky layers |
| 25–35L | Full-day hikes | May be too small for overnight gear |
| 35–50L | Overnight trips | Packing efficiency becomes important |
| 50–70L | Multi-day backpacking | Can encourage overpacking |
| 70L+ | Specialized or bulky loads | Often excessive for ordinary day hikes |
If possible, lay out your equipment before buying a pack. A compact sleeping bag, small tent, and lightweight cooking kit can save considerably more space than simply buying a larger backpack.
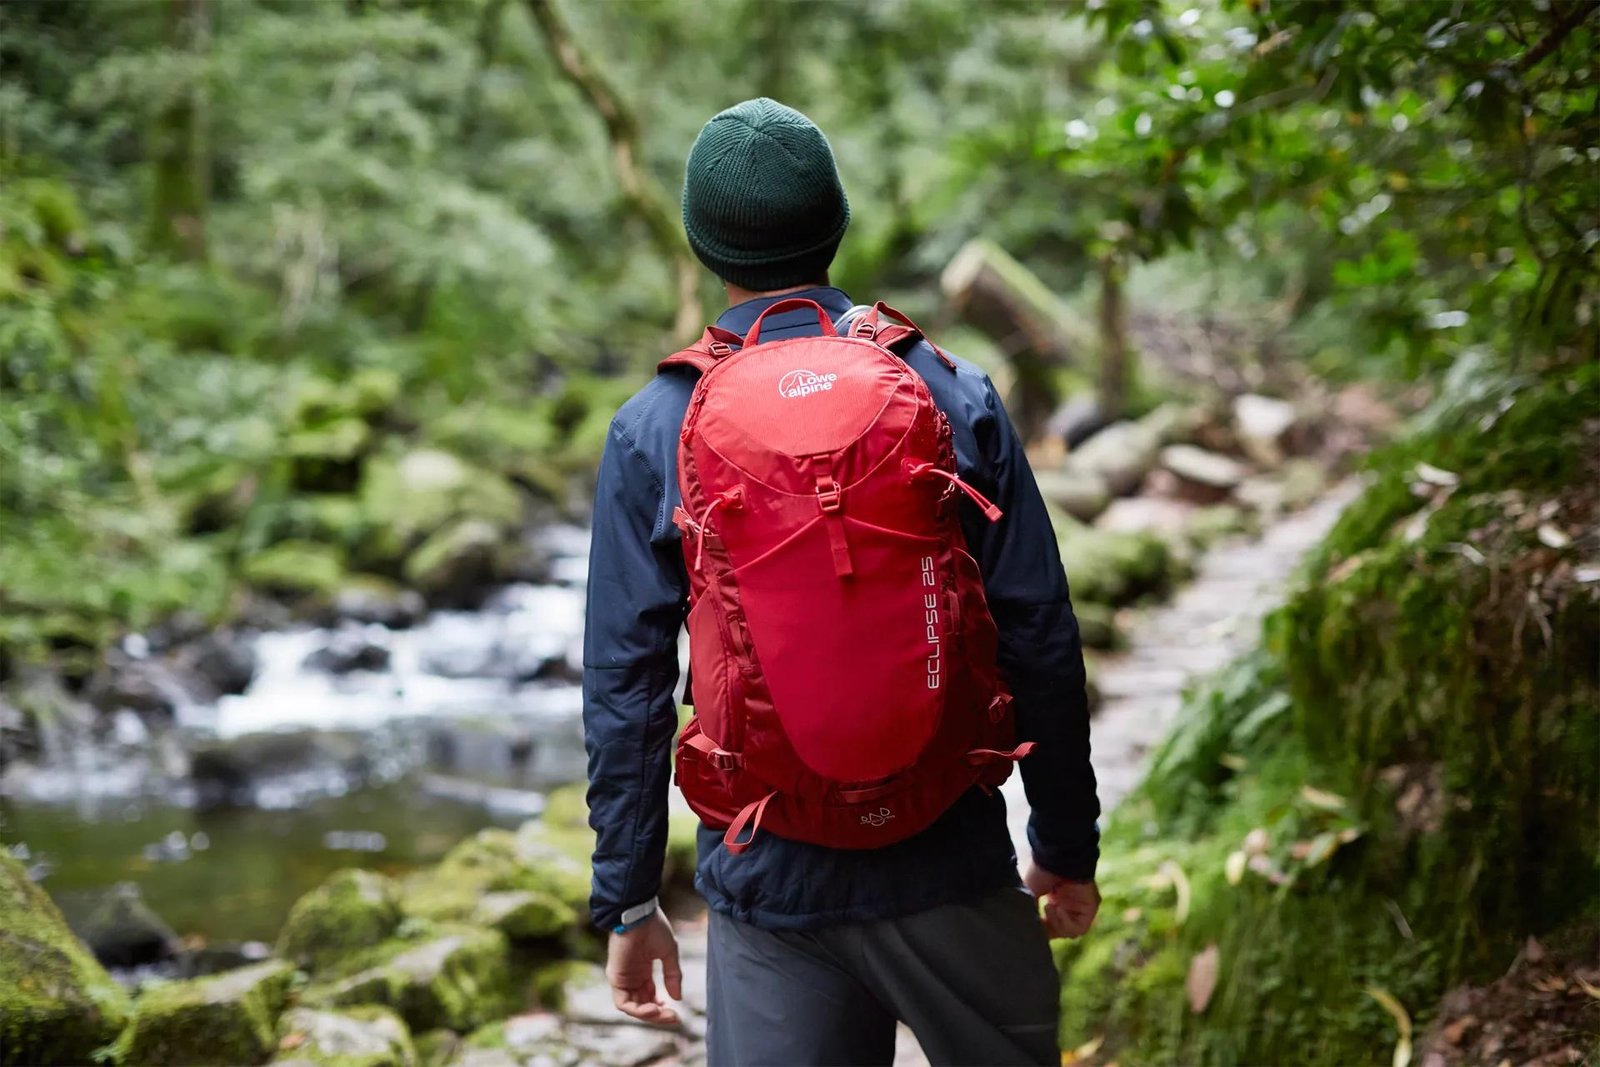
25 – 35L Daytime Backpack
Recommend a backpack that is suitable for daytime hiking, has a moderate capacity and is comfortable to carry.
Step 3: Get the Torso Fit Right
Backpack fit is about more than your height.
Many hiking backpacks are sized according to torso length, which may differ from what you’d expect based on your overall height.
Measure your torso according to the brand’s instructions, then compare the result with its sizing chart. If you’re between sizes, check whether the model offers adjustment.
When trying a backpack:
- The hip belt should sit securely around your hips.
- The shoulder straps should follow the shape of your shoulders.
- The load lifters, if included, should help stabilize the upper pack.
- The chest strap should improve stability without restricting breathing.
A backpack that feels comfortable when empty may feel very different when loaded. Test it with a realistic amount of weight.
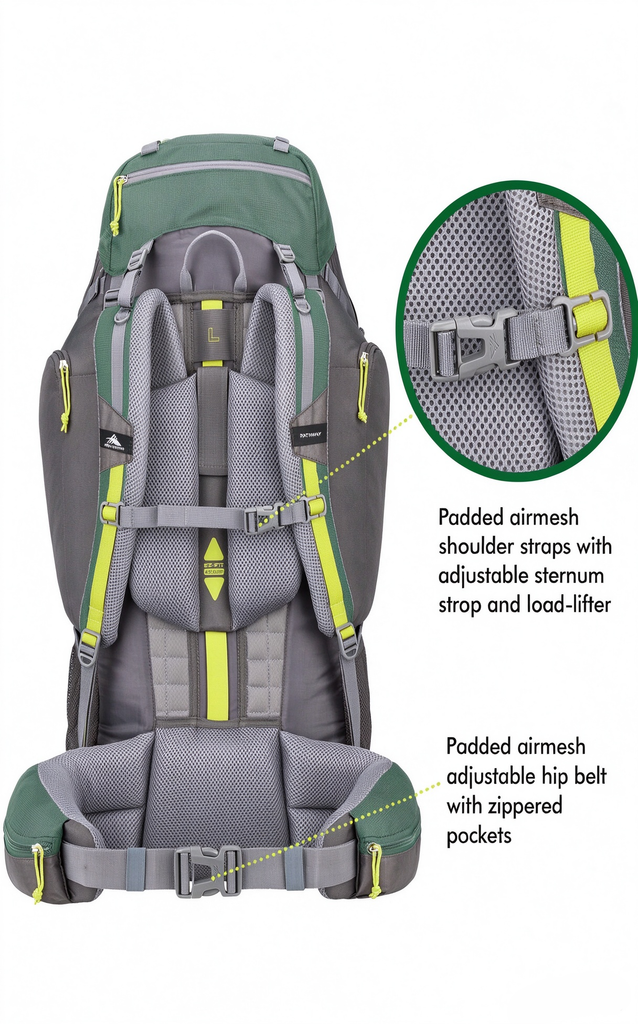
Carrying a comfortable backpack
We recommend the models with adjustable shoulder straps, chest straps and supportive belts.
Step 4: Understand Frames and Support
Backpacks use different support systems.
Framed backpacks generally provide more structure and can help transfer weight toward the hips. They’re often useful for overnight and multi-day loads.
Frameless backpacks reduce weight but usually work best with lighter, carefully packed loads.
Suspended or ventilated back panels create space between your back and the pack in some designs. They may improve airflow, although they can also affect how close the pack sits to your body.
No single design is best for every hiker. Match the support system to the load you expect to carry.
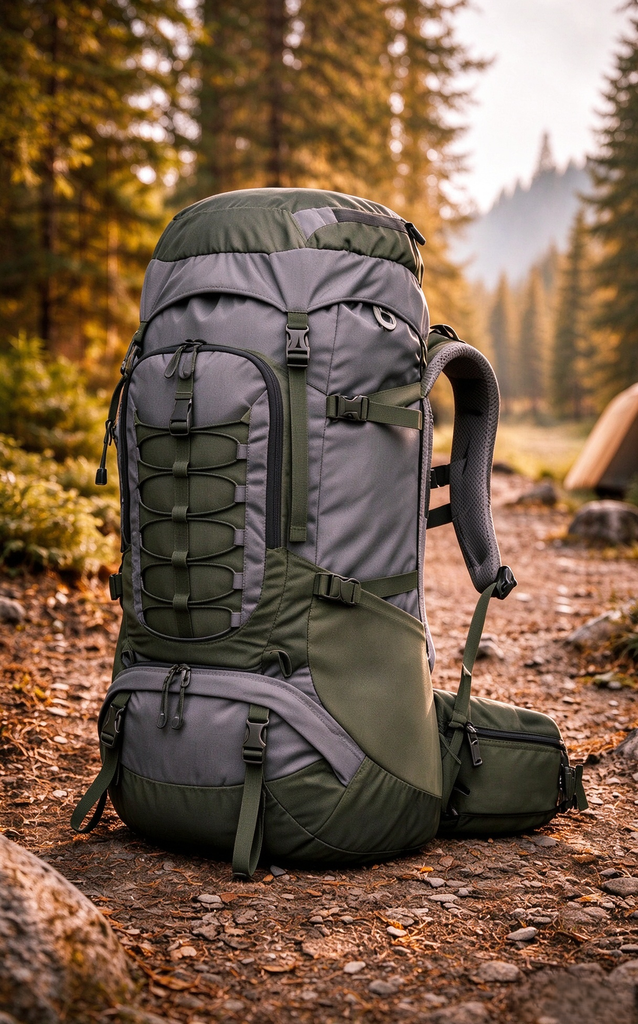
Overnight backpacking hike
Recommend a backpack suitable for carrying tents, sleeping bags and other overnight equipment.
Step 5: Look for Useful Features
It’s easy to get distracted by a long list of features. Concentrate on the ones you’ll actually use.
Side pockets
Useful for water bottles and small items you want to reach quickly.
Hip-belt pockets
Convenient for snacks, lip balm, or a phone, provided the pockets are large enough for your items.
Separate compartments
These can help organize equipment, but too many compartments may add complexity without providing much benefit.
Rain cover or liner compatibility
Water-resistant fabric alone may not keep your gear dry in prolonged rain. Check whether a rain cover is included or whether you’ll need a separate liner.
Attachment points
Loops for trekking poles or other equipment can be useful, but make sure they’re compatible with the items you carry.
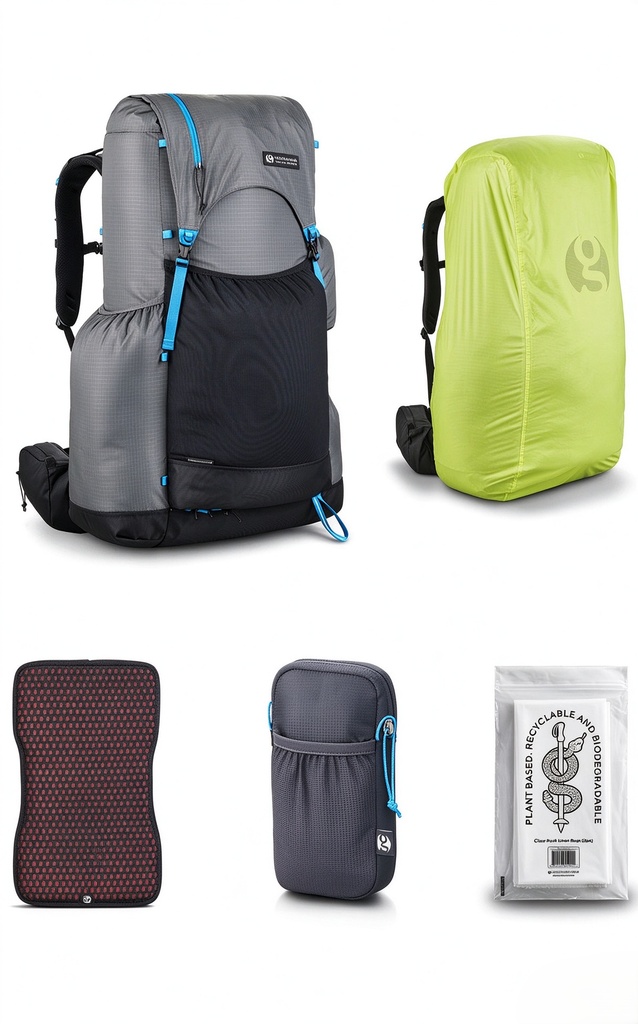
Backpack rainproof accessories
We recommend using a rain cover for the backpack, a waterproof inner pocket, or a waterproof storage bag. These accessories are highly relevant to the theme of rain protection mentioned in the text.
Step 6: Consider Weight and Durability Together
A lighter backpack can reduce the weight you carry, but the lightest option isn’t automatically the best.
Very lightweight designs may use thinner materials or have less padding and support. These trade-offs may be acceptable for experienced hikers with compact equipment, but less suitable for heavy loads or rough use.
Look at the fabric specifications, construction, warranty, and intended load range. Consider how frequently you’ll use the pack and how difficult it would be to repair.
Step 7: Don’t Ignore Weather Protection
Most hiking backpacks shouldn’t be assumed to be fully waterproof.
If rain is likely, protect sleeping gear, spare clothing, electronics, and other items that must stay dry. A waterproof liner or dry bags can provide additional protection.
A rain cover is convenient, but wind and water can sometimes get underneath it. For important equipment, internal protection is worth considering as well.
Step 8: Choose a Backpack That Fits Your Budget
A sensible buying order is:
- Fit and comfort
- Suitable capacity
- Support for your expected load
- Durable construction
- Useful organization
- Extra features
Premium materials and advanced suspension systems can be valuable, particularly for frequent backpackers. For occasional day hikes, a simpler pack may be perfectly adequate.
Don’t spend extra on features you won’t use. Equally, don’t choose a pack that feels uncomfortable just because the price is attractive.
A Simple Backpack Buying Checklist
Before making a purchase, confirm the following:
- The capacity suits your typical trips.
- The torso size is appropriate.
- The hip belt and shoulder straps adjust properly.
- The support system suits your expected load.
- Water bottles and frequently used items are easy to reach.
- Your sleeping gear fits if you plan to camp overnight.
- The materials and warranty meet your expectations.
- You can return the pack if the fit is wrong.
Final Thoughts
Choosing a hiking backpack becomes much easier when you stop comparing features in isolation.
Think about the trips you actually take, the equipment you need, and the weight you’ll carry. Then choose a pack that fits your body and offers the right balance of capacity, support, and durability.
For related recommendations, see our Best Hiking Backpacks guide and our Ultralight Backpacking Gear List.
Affiliate Disclosure: As an Amazon Associate, Peakpulse may earn from qualifying purchases at no additional cost to you.